User Guide / Manual:
Change your Contact Details
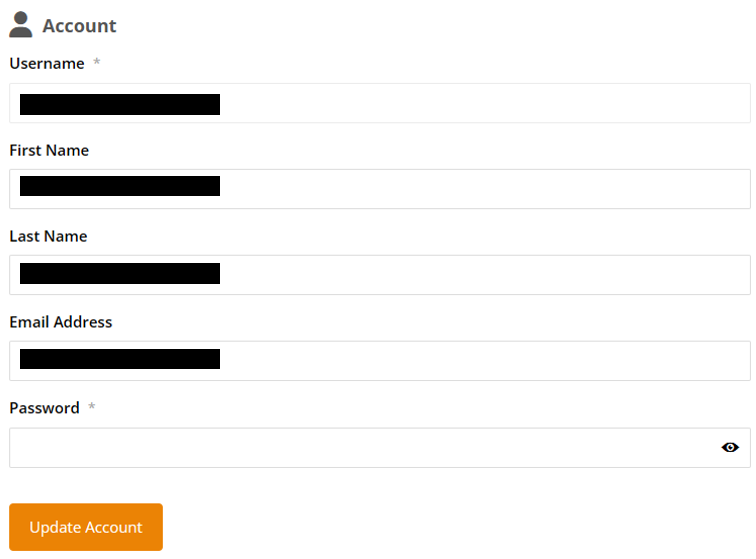
Click on “Account” to change your contact details. Here you will be able to change your:
- Firstname
- Last name
- Email Address
To be able to make these change(s) you need to fill in your password.
The username (your Company name) cannot be changed.
Change your Password
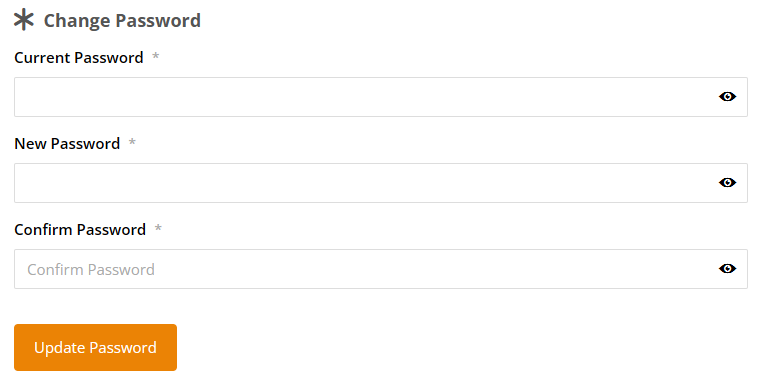
To change your fill in your existing password and twice (2x) your new password and select Update Password.
Make sure that:
- You use a strong password
- Your at least one number, one capital letter, one small letter, one strange character
- Your passwords needs to be at least 8 characters long.
Delete Account
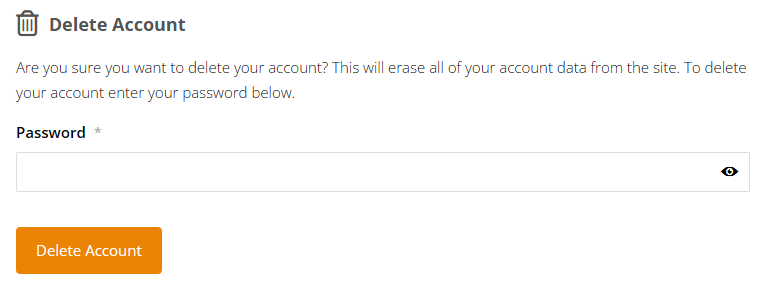
If you do not want to continue with your Account on MVNO Index anymore you can always choose to delete it.
To delete your account, you need to confirm it with your password.
Company Profile
1. View your Company Profile
To “view” your company profile, simple click on “View profile” on the left panel below your company name.
After this selection you will be directed to your Company profile
This view show you how the visitors will see your profile.
2. Edit / Update your Company Profile
To edit /update your Company Profile do the following:
- On the Account page click on “View profile”, see above point
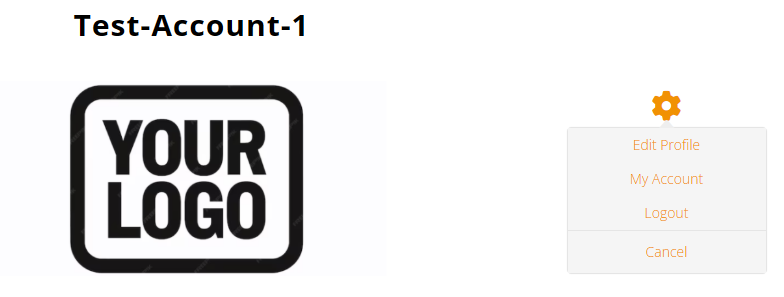
- Then click on the configuration icon
- In the expanded menu click on “Edit profile”
After this the edit mode will start, it will take some time to load.
Sometimes you will get a popup, if so then click on wait.
Important! How to use the profile fields
3. Set Your Company Logo
The first thing you need to do is to upload your Company logo. Without a logo the profile will NOT be saved!
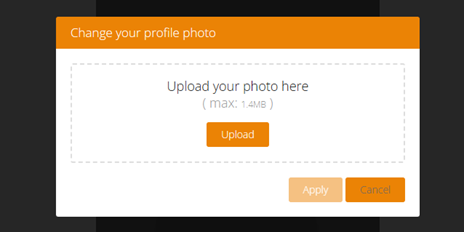
- Click on the “camera incon” in the middle
- Select “upload” logo, size 400x400px.
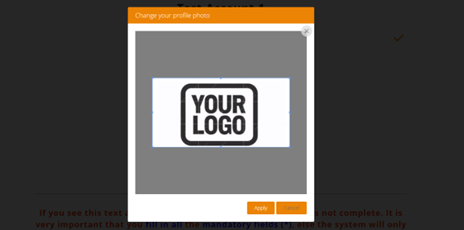
- Set the scaling as close a possible around your logo
- Save

4. Your Company Introduction
In the Company Introduction you can describe what you company does for example what the strengths are. You can use marked options such as numbering, bold, hyperlinks (URLs), etc.
Important:
- The content/text you write is also being used by the search option used by visitors.
- Do not make a copy of the about text of you website, make the text unique, this will improve the SEO

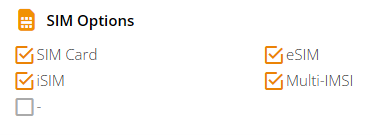
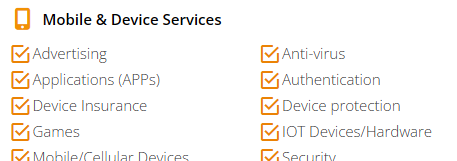
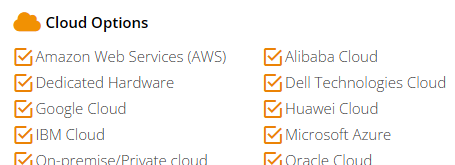
5. The Solutions your Company offers
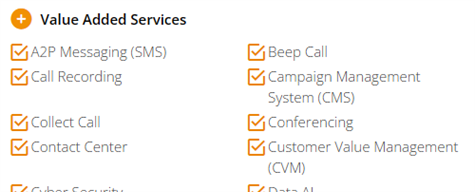
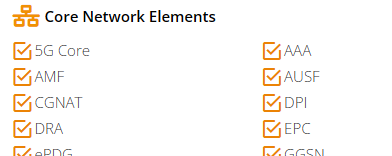
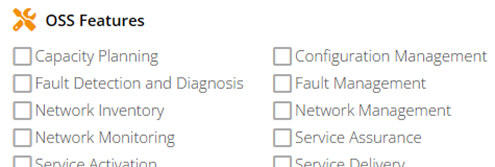
The solutions are devided in different sections to make it easier for visitors to find the one they are looking for.
Important:
Fill in ALL the sections, when you do not have a solution in a particular section then select the ” – ” option.
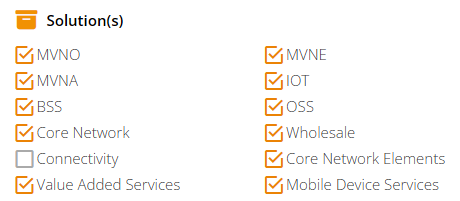
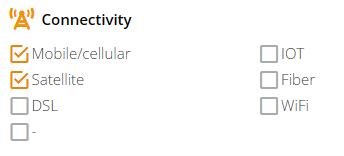
The section “Solution(s)” is an overall indicator and is also being used in the filters. It works in the following way. For example when you offer any “Connectivity” then select the field here, when you do not offer it then leave it blank.
The section “Solution(s)” is an overall indicator and is also being used in the filters.
It works in the following way. For example when you offer any “Connectivity” then select the field here, when you do not offer it then leave it blank. See exmple on the left.
There are currently 12 different sections which you need to fill in.
The two sections regarding the “Wholesale” are only visible when you have selected “Wholesale” in the Solution section, see above.
The options in the different sections are expanded once in while so make sure to check and update your profile every month or two months.





6. Company Contact details
The contact details are important and this is devided into 3 parts.
- Generic Contact details
- Headquarter & Office(s)
- Socials
1. Generic Contact details
When filling in the website (URL) of your company it is strongly advised to use HTTPS.

When filling in the phone number of your company then include the country code.

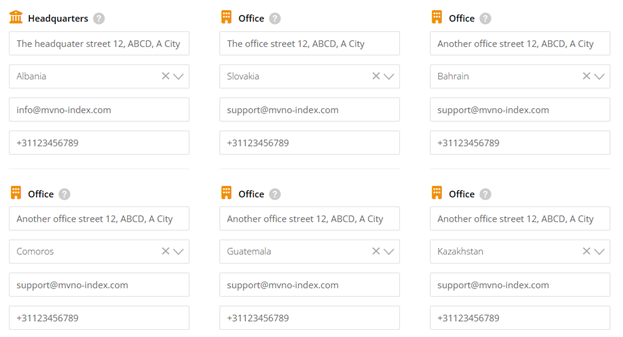
2. Headquarter & Office(s)
You can fill in up to 6 offices of your company the first one is the headquarters.
Next to a different address each office / location can also have a different point of contact therefore you can fill in a different.
- Email Address
- Phone number
3. Socials
We have selected the 6 most commenly (by Businesses) used socials.

Subscription
1. Subscribe to a Plan
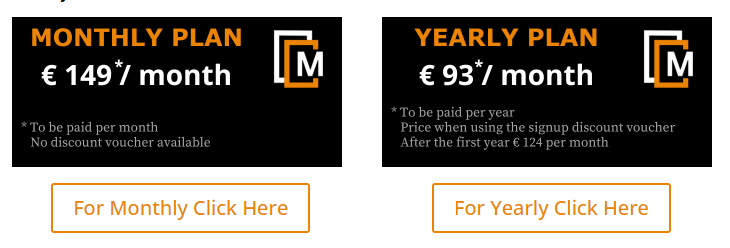
To subscribe to a plan you just need to select the right one for your company. There are 2 plans available:
- A monthly plan
- A Yearly plan (saving you 2 months’ worth)
The subscription part is only visible when you did not subscribe to a plan yet.
2. Billing Portal
To manage all the billing information and your subscription you need to go to the Customer Portal (this is fully managed by Stripe©). In the customer portal you can manage:
- Your subscription (view/update/cancel)
- The Payment method
- Billing information
- Invoice History
- Download Invoices and Payment receipts

3. Current Subscription
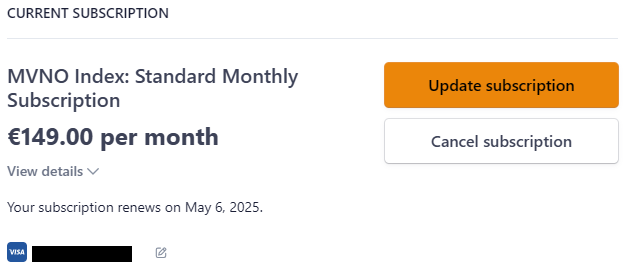
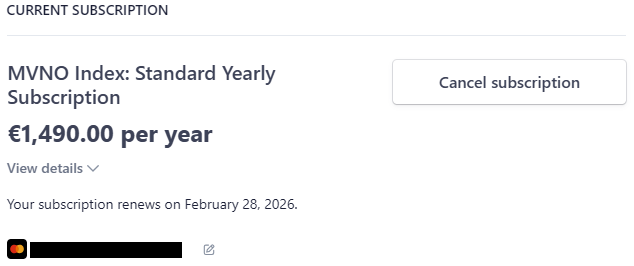
When you open the Customer Portal you can directly see your current subscription.
4. Update Subscription
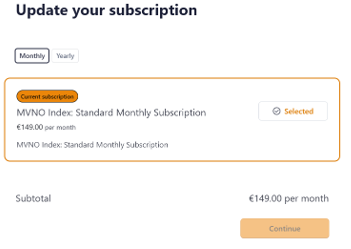
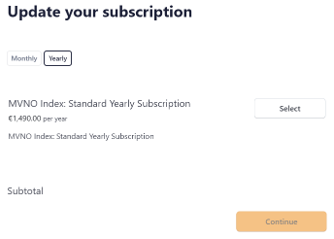
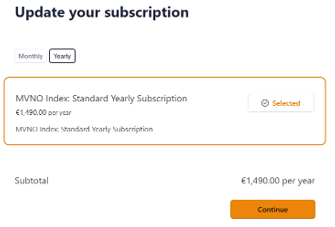
When you have a monthly subscription you can easily update the subscription to a yearly plan. The yearly plan is cheaper then the monhtly plan, it will sve you 2 months worth.
- Click on Update Subscription
- Go to the “”Yearly option
- “Select” the option
- “Continue”

5. Cancel Subscription
When you want to stop being listed on MVNO Index then select “Cancel subscription” (there will be no refund!).


6. Payment Method
In the payment section you can see the method you are using. You can also:
- Change the method
- Add a payment method
- Remove a payment method

7. Billing Information
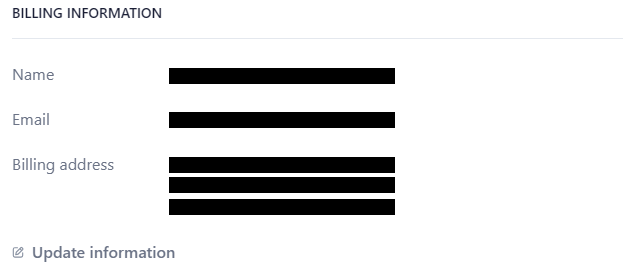
The billing information is used on your invoice. To update this information simply click on “Update information” make the changes ans save them.
8. Invoice History
The invoice history shows you the:
- Invoice date
- The amount
- Status
- Subscription plan

9. Download Invoices & Payment Receipts
For administration you might need to have the invoices and payments receipts. You can of course donwload them as a PDF file.
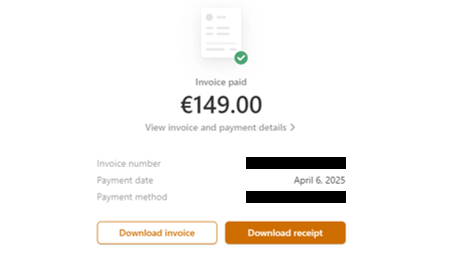
Select the invoices line for which you want to download the details, in the invoice history. This will open in a new window, here you can:
- View the invoice & payment details
- Download the invoice
- Download the receipt
Jobs
1. How to Start?
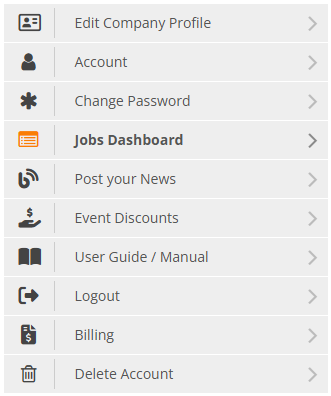
To start simply click on Job Dashboard in the Account Menu.
After this selection you will be directed to your your Job Overview.
2. Job Overview (Job Dashboard)
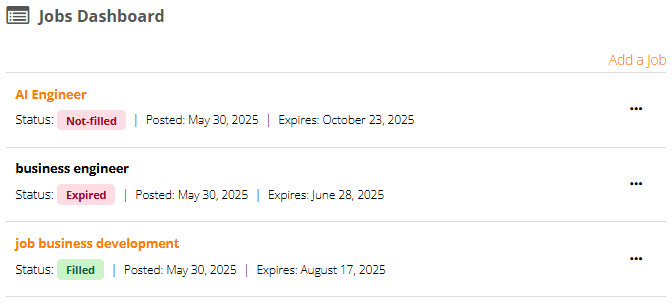
When your company hasn’t posted any job, then the dashboard will be fully empty. If you want to add a Job then simply click on “Add a Job”, for more details see next section.

When your company has posted job(s), then the dashboard will give an overview of them. The Jobs can have a different status:
- Not-filled, these are shown in the Public listing
- Filled, these are not shown in the Public Job listing
- Expired, these are not shown in the Public Job listing
The expired Job Titles are also shown in black.
3. Add a Job
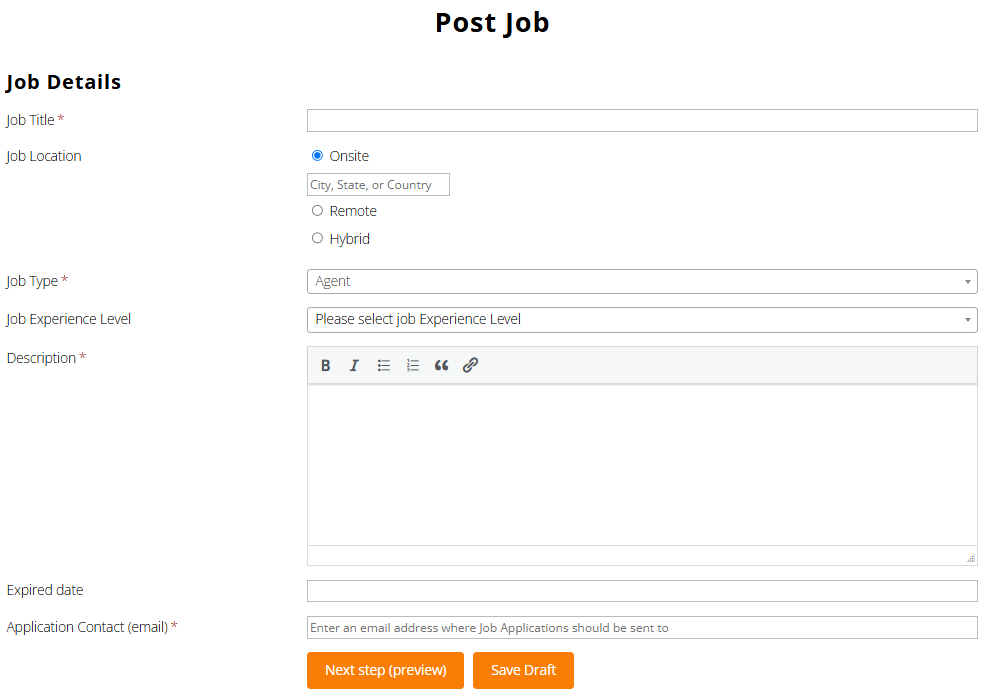
To add a new Job simply click “Add a Job” and then fill in the required fields.
- Job Title: The Title of the Job
- Job Location:
– Remote, Optionally you can add a City and Country
– Hybrid, fill in the City and Country
– Onsite, fill in the City and Country - Job Type: Refers the nature of the work arrangement and the employee’s relationship with the employer.
- Job Exprerience Level: Refers to the amount of practical knowledge and skills a person requires to have for the Job.
- Description: The Job description, be as complete as possible. In case you do not which to make use of recruiters then mention this.
- Expired Date: This is the date indicates indicates the date that your company is no longer accepting applications for that specific position. At the Expired date the Job will automatically be hidden from the Public listing.
- Application Contact (email): The email address where the Job applications need to be send to.
4. Edit (change) a Job
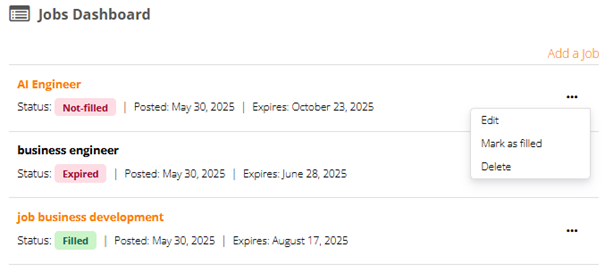
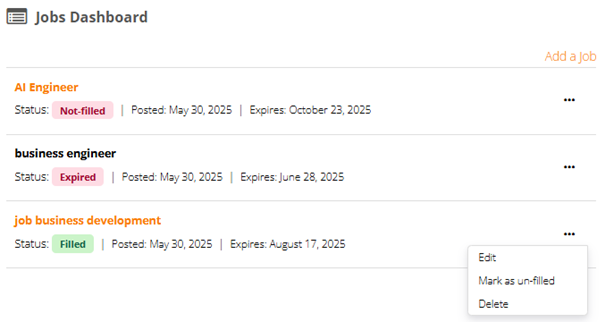
Depending on the status of the Job you can edit them. Just click on the 3 dots behind the Job which you want to edit.
You can only edit jobs which are:
- Not filled
- Filled
5. Submit a Job again
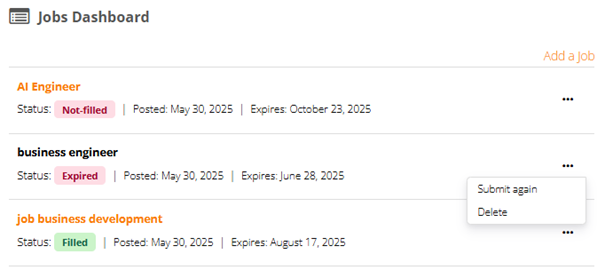
When a Job is expired and you want to make it active again then simply click on the 3 dots behind the job you want to submit again.
After the selection “Submit Again” you go into the edit mode.
6. Delete a Job
To delele click on the 3 dots behind the Job which you want to delete.
Important: Deleted Jobs cannot be recovered


7. Change the Job Status
When you have hired somebody you can change the Job status by selected “filled“, then it will not be shown in the Public listing anymore.
When are hiring again for the same Job then your can easily get the Job back online, by selecting “Mark as Un-filled“.


News Posts
1. How to Start?
IMPORTANT:
The news post should be current news not news from months or years ago. No worries your history will stay online.
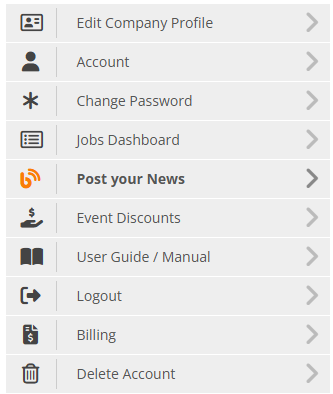
To start simply click on Post your News in the Account Menu.
After this selection you will be directed to your News Overview.
2. News Post Overview
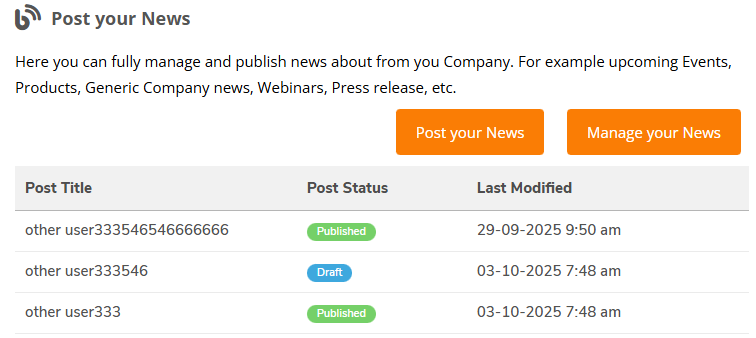
When your company hasn’t posted any news, then the dashboard will be fully empty. If you want to add a news post then simply click on “Post our News”, for more details see next section.

When your company has posted news, then the dashboard will give an overview of them. The News posts can have a different status:
- Draft, these are not shown in the Public News listing
- Published, these are shown in the Public News listing
3. Add a News Post
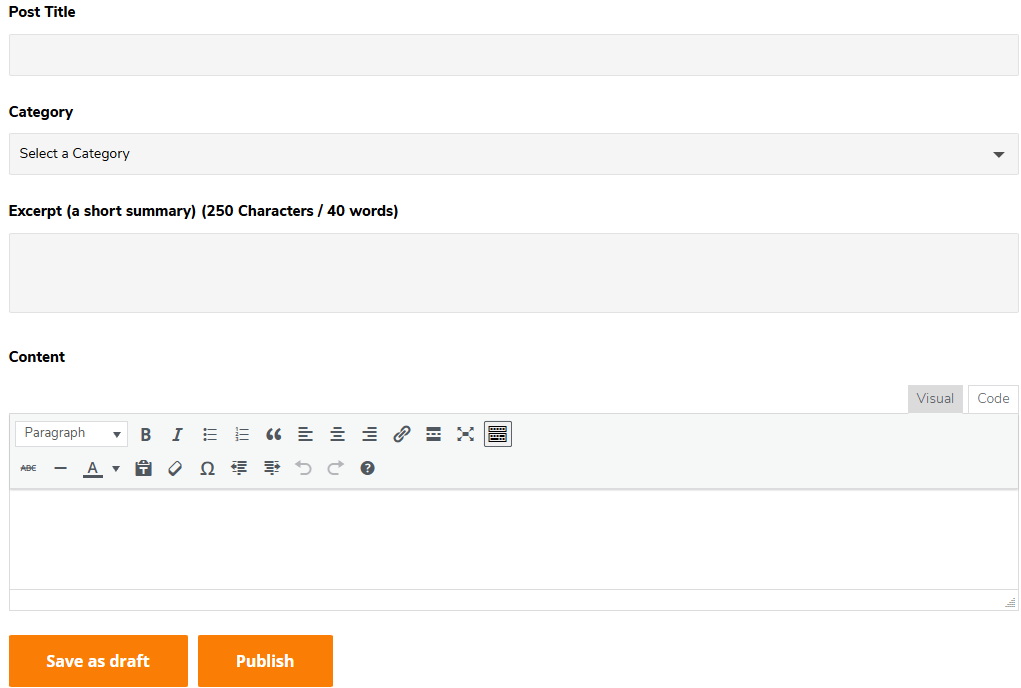
To add a new News Post simply click “Post your News” and then fill in the required fields.
- Post Title: The Title of the News Post
- Category: Select the related category for your post
- Excerpt: Write a short summary about your post.
- Content: Write your News Post
When you are done you can choose to:
- Save as Draft: Save it but do not put it live yet. It will be added to your news Dashboard with status “draft”
- Publish: Publish the post, it will automatically come online and will be added to the News listing, your Company profile page and your News dashboard with status “Published”
4. Manage your News
To manage your News Post simply click “Manage your News”. A new page will load and the dashboard is extende with the options to:
- Edit: Click on the pencil. Here you can also change the status from draft to published
- Delete: Click on the trashcan. Deleted news cannot be recovered by you. Contact our support if you did it by accident. Our support will try to recover it.
- View: Click on the eye to view your News Post

Event Discounts
1. How to Start?
IMPORTANT:
To get your discount it is important to follow the instructions on the related event. The instructions are different for each event organizer. The discounts which you will get are different for each event organizer.
To claim your discount simply click on Event Discount in the Account Menu.
After this selection you will be directed to the Event overview.
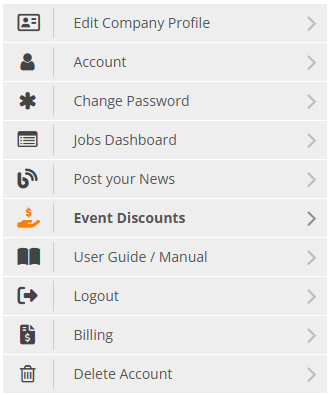
2. Event Discount Overview
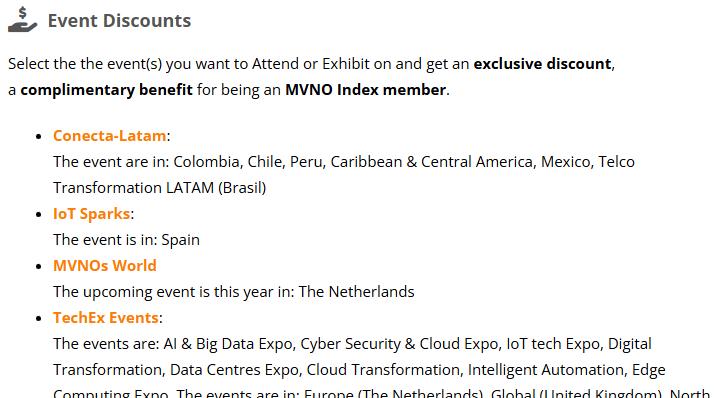
When going to the Event Discount an overview of the Events for which you can get discounts is shown.
Click on the Event for which you want to check/have the discount.
3. Claim your discount
When you open an Event page (for example Conecta LATAM), you will get an overview of the events. They are shorted with on top the first upcoming event.
Normally for event event the following is displayed:
- Event Name, date and location
- Banner
- Discounts for Exhibiting & Sponsering
- Discounts for a Delegate/Gold/Event Pass
Follow the instructions to claim your discount !!!


